Showing posts with label DIY. Show all posts

Tuesday, November 27, 2012

DIY: Advent calendar and Xmas tree (2 in 1).


For this year's advent calendar I wanted a "2 in 1" sort of thing, as J. didn't have any Christmas decoration (and he wasn't going to buy anything). So, I thought that I had to make a calendar that could be displayed during the holidays as well, and I wanted it as minimal as possible, in order to fit in with the whole living space.

I knew I wanted something inexpensive, maybe cardboard or paper, nothing fancy; and the most important thing, it had to be foldable as I had to carry it. I wanted to make something like in 2D that could, maybe, be hung up.

I started my research and found the perfect inspiration in this amazing blog called Weekday Carnival. I, obviously, adapted the idea to what I already had in mind but it almost had everything I was looking for: a flat surface and ornamentation.

I chose a colour scheme: black&white texture images and different red plaids. I printed them on white cardboard, put the numbers on the other side and then I cut them with my circle cutter.


To make the tree I used a large sheet of tracing paper cut it as a triangle and attached it to the wall with the transparent washi tape with black dots, and finally I put the circles on the tree with the same washi tape. I love that it seems there is no tree surface apart from the lines, and  I can have the advantage of not having to attach each circle directly to the wall.


Now, they only need to be turned around to show the texture and become a beautiful Xmas tree!


Friday, November 23, 2012

Project 1: Isolating ourselves. (Part III)


These are some of the photographs I took from the inside of my installation.

I like that it's wide enough to sit comfortably and I love its atmosphere.
The different tones of whites and greys, lights and shadows, makes you feel isolated as it takes you to somewhere else. I really like how it turned out.


Images by Muffins in my backpack.

Wednesday, November 21, 2012

Project 1: Isolating ourselves. (Part II)

After I had made the four bands I needed I made some tests to verify everything was okey, made the finishing touches and put it together.

This is the result of the isolation project.

bHeGU8 on Make A Gif, Animated Gifs

Gif by Muffins in my backpack.

Sunday, November 18, 2012

Project 1: Isolating ourselves. (Part I)

The first project of our postgraduate course was to make an isolated space for ourselves. We had to come up with "something" that could keep us isolated from the rest of the people, and that we could easily put wherever we were to get an instant little place for us. It had to be easily mountable and transportable.
Depending on what were our initial inputs, everyone thought of their perfect space. The ones I thought about were that I had to be able to sit, to have zenithal light, and not to see the outer things (because then I cannot concentrate). 

I wanted to build like a wall made of white thick paper, that could fit in a regular folder, so I had to make as many accordions (because the paper had to be folded) as height units I wanted.


I got a paper coil, I cut four bands that were 5 meters long, and I started folding the stripes in 20cm wide pieces.


Then, in three of the four bands I did a cut at the lower part to make sure they could be mounted, and made a final little triangular cut to make the assembly as easy and fast as possible.


Friday, November 09, 2012

Monday, September 17, 2012

DIY: Polka dot framed.

Last year I posted a DIY with some circle-shaped pictures I had been taken with my fisheye camera. I decorated one of my bedroom walls with 80 round photos but, as I don't live there anymore, all those pictures went directly into a box.

The other day I picked my 20 favorite photos, mounted them on a white cardboard, bought a white frame... and voilà! There they are again!


Images by Muffins in my backpack.

Tuesday, January 03, 2012

Happy 2012!

We did a Photobooth for New Year's Eve party!

We had seen these gorgeous photobooth props (1, 2, 3 and 4) by Oh Happy Day. We picked a few of the items (hats, glasses, moustaches...) printed, glued them to an adhesive foam board and cut them.
Then we mounted them to dowels, turbans and headbands.


Happy 2012 to everyone!


Photos edited using Adobe Photoshop and Pixlr-o-matic.
Images by Muffins in my backpack.

Thursday, December 22, 2011

Wrapping up.


I made some wrapping paper with my rubber stamps and a craft roll. I also used my gift tags. Enjoy!

Images by Muffins in my backpack.

Tuesday, December 20, 2011

DIY: Christmas gift tags.


I really like to customize the presents I give, so yesterday I tried to make my own gift tags.
I've been wanting to try stamp carving for a while, so these gift tags were the perfect way to do it. You could find most of your craft supplies wih a Target promotional coupons and save.

I started by drawing some (easy!) Christmas decorative motifs: a tree, a snowflake and a candy cane. I printed and transferred them to the rubber. As I didn't have the required tools I cut them with my regular cutter (I think it made a pretty good job).


I could have used stamp pads but I tried gouache instead. I thought that this heavier texture would match better with the craft paper. I chose white, magenta (with a tiny pigment of white) and paynes gray.


Then I put some washi tape around the corners, made a little hole and attached a strip of white and red baker's twine. Finally I wrote the names with black marker.


I love this imperfect look and characteristic texture of the little drawings.


Images by Muffins in my backpack.

Thursday, December 01, 2011

DIY: Advent calendar.


I know I'm a little bit late but I wanted to post my advent calendar. I had this idea in mind and wanted to do an advent calendar, but slightly different; since it was for a "grown-up"  (grown-up only when he wants, hehe).


I didn't come with the whole idea at the same time, I was looking for some small "boxes" to fit my messages inside, so I was so happy when I saw these colorful paper gems from Minieco (this amazing blog!). She explains how to do these small artworks and you can download the templates; so I couldn't resist!
There are three different gems, so I printed them out in white craft paper, cut and glued. 


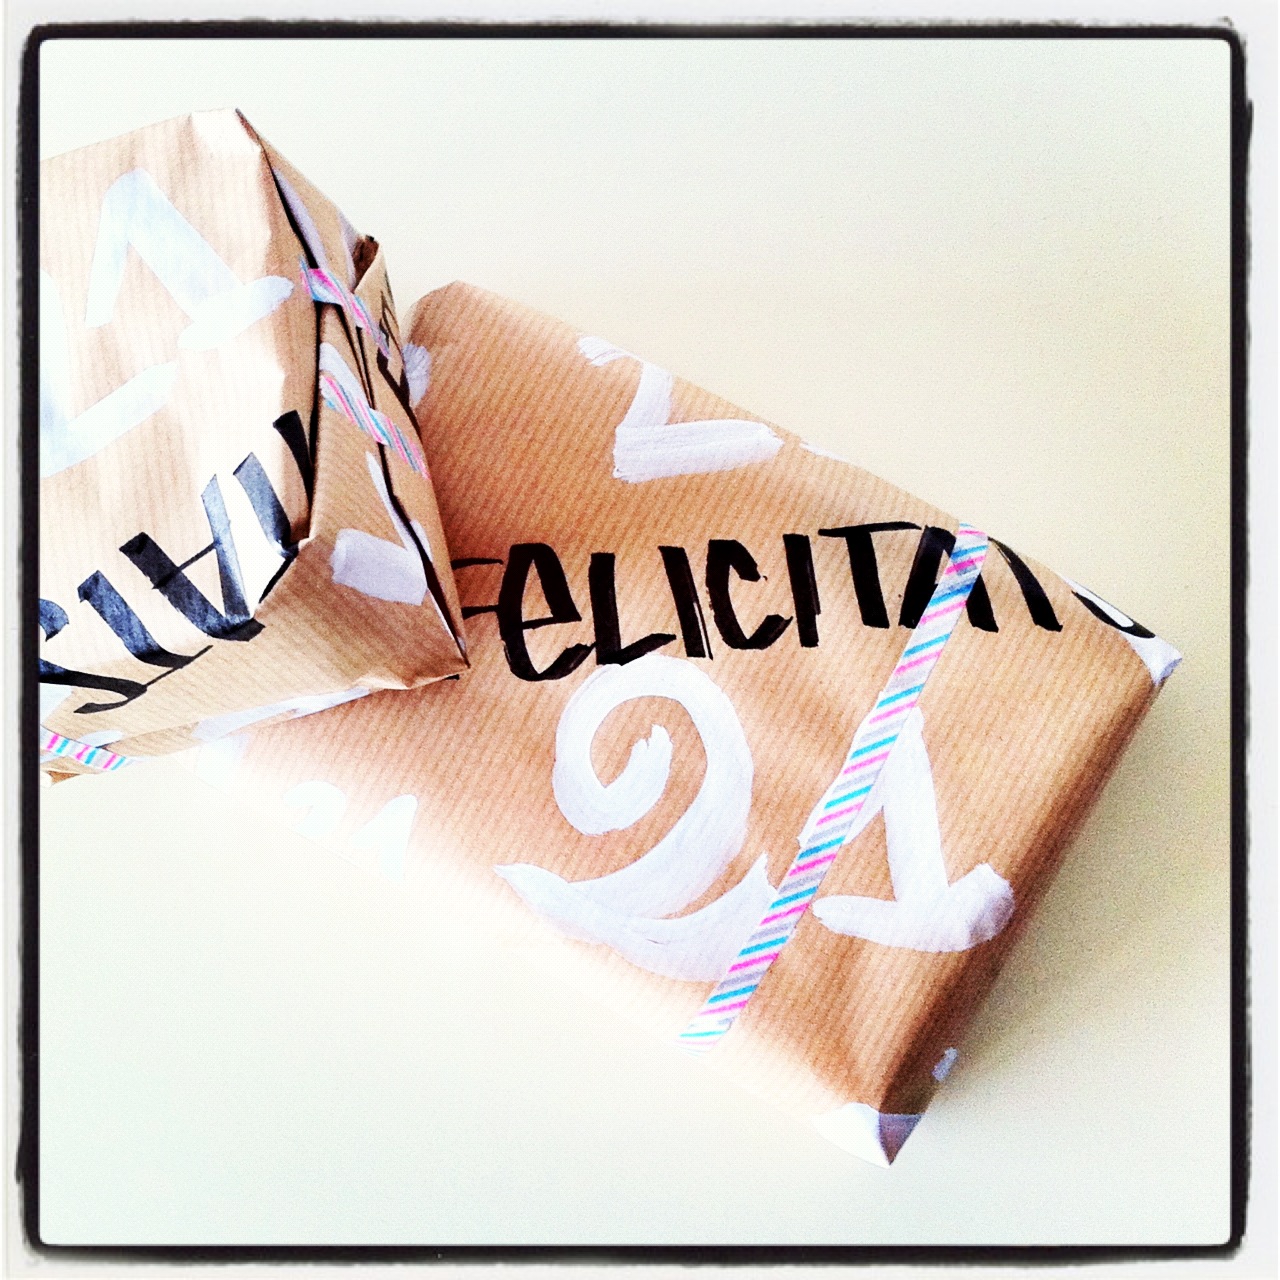
I just let one piece opened in order to put the message inside, sealed it with different black, grey and white washi tapes, and wrote the numbers.


Then I built a box made of white foam board. It was 20x20x11cm, and I joined the pieces with washi tape (matching the ones of the little gems). Then I made a cap, placed all the gems inside and work was done!


I wanted a more "serious" look, not so girly, so I assumed white, grey and black would be the best tones to make the whole project; that pop of bright yellow just added a little bit of life.
I love how all these little boxes look together, and how can they ressemble at white snowflakes.


Images by Muffins in my backpack.

Wednesday, July 06, 2011

DIY: 3D painting.


I've always loved this painting by Van Gogh. It was like ten years ago at the arts class at school: We had to make a 3D painting of an existing one. I chose the "Bedroom in Arles".

The other day, while looking for something in my room, I came across my little model of this painting and I was extremely happy! It's a little bit damaged,but mostly intact.
There are good coupons for Meijer paints and construction paper .


Image of the painting here.

Images by Muffins in my backpack.

Tuesday, May 24, 2011

DIY: Polka dot wall.


I moved to a new flat while ago, everything was so white and impersonal. The picture above shows one of my bedroom walls. I'm still in college but I didn't want my place filled with posters of movies and bands (althought you can see Amélie's poster on the left corner).

I wanted something wonderful to look at and I came with the idea of designing a polka dot wall.

I had plenty of photos taken with a fisheye camera that had to be circle shaped. I bought a circle cutter and did the job!

Apart from that, I put a mirror and a hanging clothes organizer to keep all my scarfs.


Images by Muffins in my backpack.
Related Posts Plugin for WordPress, Blogger...